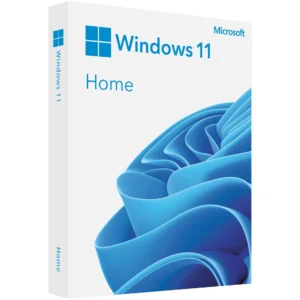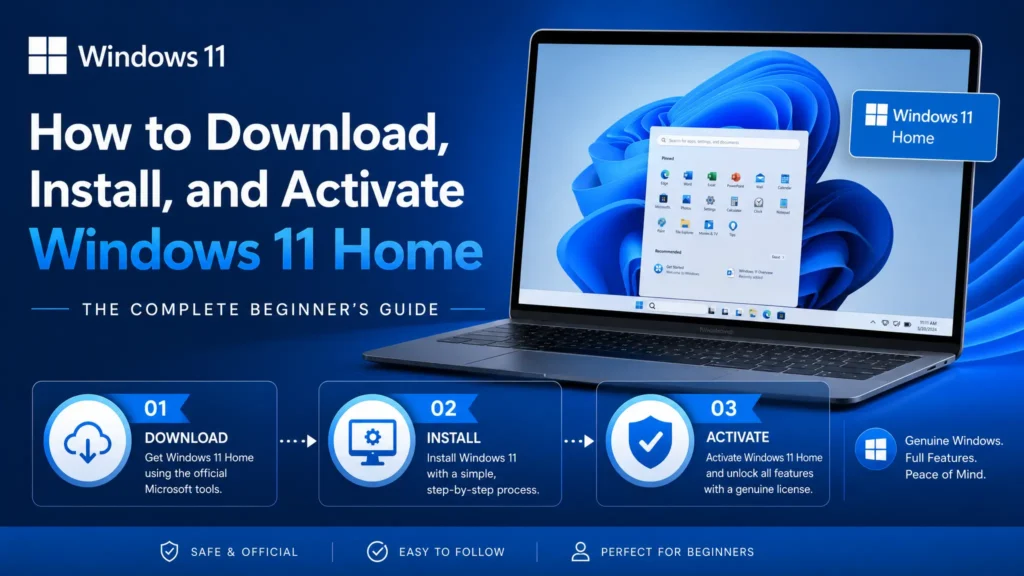
Thinking about upgrading your PC to Windows 11 Home? You’re in the right place. This step-by-step guide will show you exactly how to download, install, and activate Windows 11 Home, even if you’ve never installed an operating system before.
Whether you’re refreshing an old device or setting up a new one, follow these simple instructions to get started quickly—and unlock all the benefits of Microsoft’s latest operating system.
1. Check Your System Requirements
Before you download Windows 11 Home
make sure your PC meets these minimum system requirements:
Processor: 1 GHz or faster with 2 or more cores on a compatible 64-bit processor
RAM: 4 GB or more
Storage: 64 GB or larger storage device
Graphics Card: Compatible with DirectX 12 or later
System Firmware: UEFI, Secure Boot capable
TPM: Trusted Platform Module (TPM) version 2.0
Display: HD 720p display, 9” or larger
Internet Connection: Required for updates and activation
Tip: To check compatibility, open Settings > System > About and verify your device specs.
2. Download the Windows 11 Installation Media
Ready to get your copy? Microsoft makes it easy to create installation media.
Follow these steps:
Visit the official Microsoft download page:
Download Windows 11 Installation MediaClick Download Now to get the Media Creation Tool.
Run the tool and choose Create installation media (USB flash drive, DVD, or ISO file) for another PC.
Follow the prompts to create your bootable USB drive or ISO file.
This ensures you’re using the latest official Windows 11 Home installer, free of viruses or tampering.
3. Install Windows 11 Home
Once your installation media is ready:
Insert the USB drive into your PC.
Restart and boot from the USB drive (you may need to press a key like F12 or ESC when the PC starts).
Follow the on-screen instructions:
Choose your language, time, and keyboard preferences.
Click Install Now.
Enter your product key if you have it ready (or skip and activate later).
Select Custom Installation if you want a clean install.
Let the installer copy files and restart your PC.
The installation can take anywhere from 15–45 minutes, depending on your hardware.
4. Activate Windows 11 Home
Activation is crucial to unlock all features and verify your license.
Here’s how:
Once Windows 11 Home is installed, go to Settings > System > Activation.
Click Change product key.
Enter your genuine Windows 11 Home product key.
Click Activate.
You’re all set. Your PC is now officially licensed and ready to enjoy Windows 11 Home’s modern experience.
Why Choose a Genuine Windows 11 Home License?
Using a genuine license means:
You get full security updates
No watermarks or activation reminders
Peace of mind knowing your system is legally compliant
Access to Microsoft support
Don’t risk counterfeit keys—invest in an authentic product to protect your PC and your data.
Get Your Windows 11 Home License Today
Ready to activate?
Buy your official Windows 11 Home Lifetime License here
Fast delivery, lifetime validity, and 100% genuine keys.
Join thousands of satisfied customers upgrading their PCs securely.
FAQs About Windows 11 Home Installation
Can I download Windows 11 for free?
Yes, but you need a valid product key to activate it.
How do I install Windows 11 on a laptop without an OS?
Create a bootable USB, boot from it, and follow the on-screen setup instructions.
How long does it take to install?
Installation time varies but typically takes 20 minutes to 1 hour.
We hope this guide helps you install and activate Windows 11 Home smoothly.