


![]() Windows Server 2019 Datacenter is a powerful server operating system designed to handle enterprise workloads, virtualization, and hybrid cloud deployments. Whether you’re running virtual machines, managing a data center, or building a scalable IT infrastructure, Windows Server 2019 Datacenter delivers unmatched performance, security, and flexibility.
Windows Server 2019 Datacenter is a powerful server operating system designed to handle enterprise workloads, virtualization, and hybrid cloud deployments. Whether you’re running virtual machines, managing a data center, or building a scalable IT infrastructure, Windows Server 2019 Datacenter delivers unmatched performance, security, and flexibility.
In this step-by-step guide, you’ll learn how to check system requirements, download the installation media, install the OS, and activate Windows Server 2019 Datacenter. We’ll also show you where to get a 100% genuine lifetime license at an affordable price.
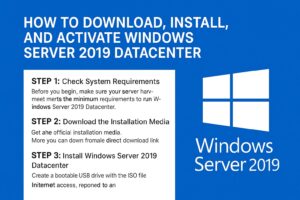
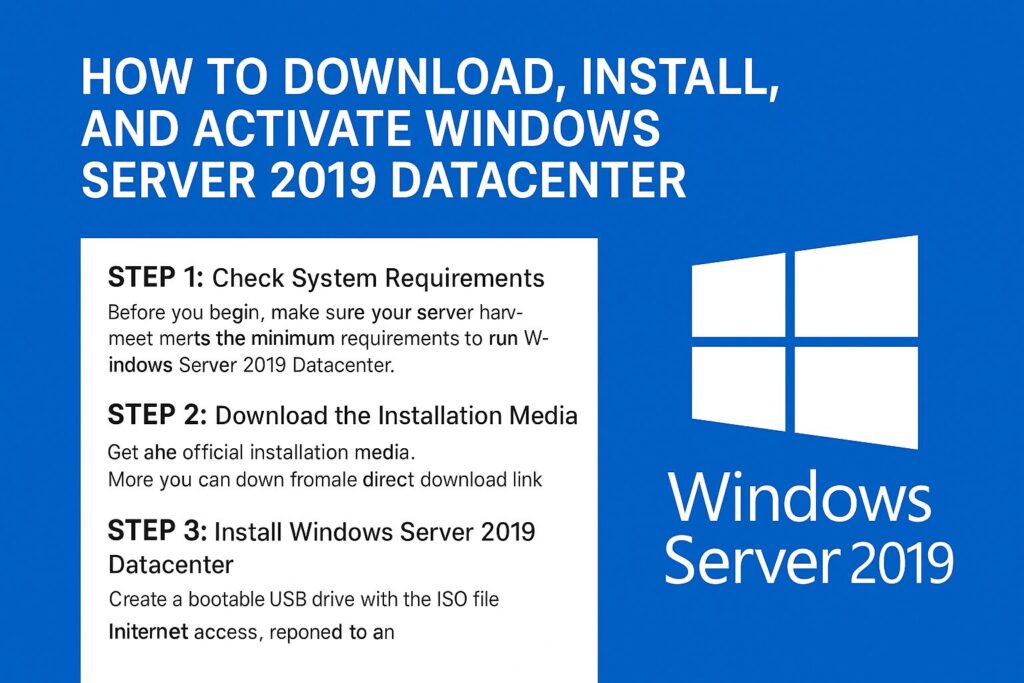
Step 1: Check System Requirements
Before you begin, make sure your server hardware meets the minimum requirements to run Windows Server 2019 Datacenter:
| Component | Minimum Requirement |
|---|---|
| Processor | 1.4 GHz 64-bit processor (compatible with x64 instruction set) |
| RAM | 512 MB minimum (2 GB for Server with Desktop Experience) |
| Disk Space | 32 GB or more |
| Network | Gigabit Ethernet adapter recommended |
| Display | 1024 × 768 resolution or higher |
| Internet Access | Required for activation and updates |
Tip: Always update your firmware and drivers before installing a new server OS for the best performance and compatibility.
Step 2: Download the Installation Media
To install Windows Server 2019 Datacenter, you’ll need the official installation media.
You can download the ISO directly from Microsoft using their evaluation center.
When you purchase from us, we’ll send you the direct download link and your genuine license key.
Buy your genuine license here:
Microsoft Windows Server 2019 Datacenter Product Key – Lifetime (1PC)
This license allows you to activate and use Windows Server 2019 permanently with no recurring fees.
Step 3: Install Windows Server 2019 Datacenter
 Create a bootable USB drive with the ISO file (use tools like Rufus or the Windows USB/DVD Download Tool).
Insert the USB drive into your server and boot from it (adjust boot order in BIOS if needed).
Choose your language, time, and keyboard settings, then click Next.
Select Install Now.
Choose Windows Server 2019 Datacenter (Desktop Experience or Core) based on your needs.
Accept the license terms and select Custom Installation.
Choose the drive or partition where you want to install Windows Server 2019, then click Next.
The installation will proceed automatically. Your server may restart several times.
 Create a bootable USB drive with the ISO file (use tools like Rufus or the Windows USB/DVD Download Tool).
Step 4: Activate Windows Server 2019 Datacenter
Once installed, you need to activate Windows Server to unlock full features:
Go to Settings > Update & Security > Activation.
Click Change product key.
Enter the 25-character license key provided with your purchase.
Click Activate while connected to the internet.
Your server will now be fully licensed and ready for production use.
Why Buy from FlixEasy?
100% Genuine Lifetime License – no subscriptions
Instant delivery by email after purchase
Secure download link included
Free activation support if you need help
Affordable price with no hidden costs
Final Thoughts
Installing and activating Windows Server 2019 Datacenter is straightforward when you have the right guidance and a genuine product key. By following this guide, you’ll be able to set up your server quickly and securely.
Buy your genuine Windows Server 2019 license today:
Microsoft Windows Server 2019 Datacenter – Lifetime License Key For 1 PC
Start building a fast, reliable, and fully licensed server environment today!